1Set your branding
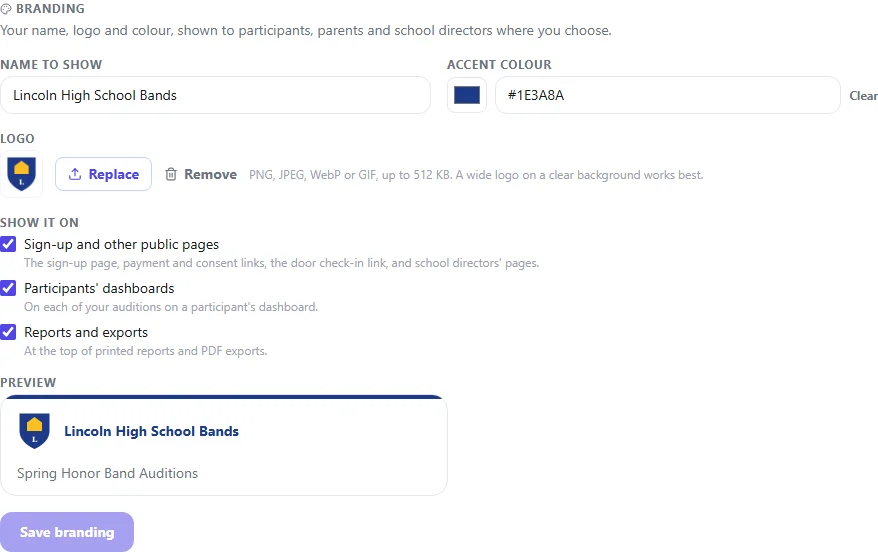
Go to Settings > General and find Branding. It applies to all of your own auditions.
- Name to show: for example "Lincoln High School Bands".
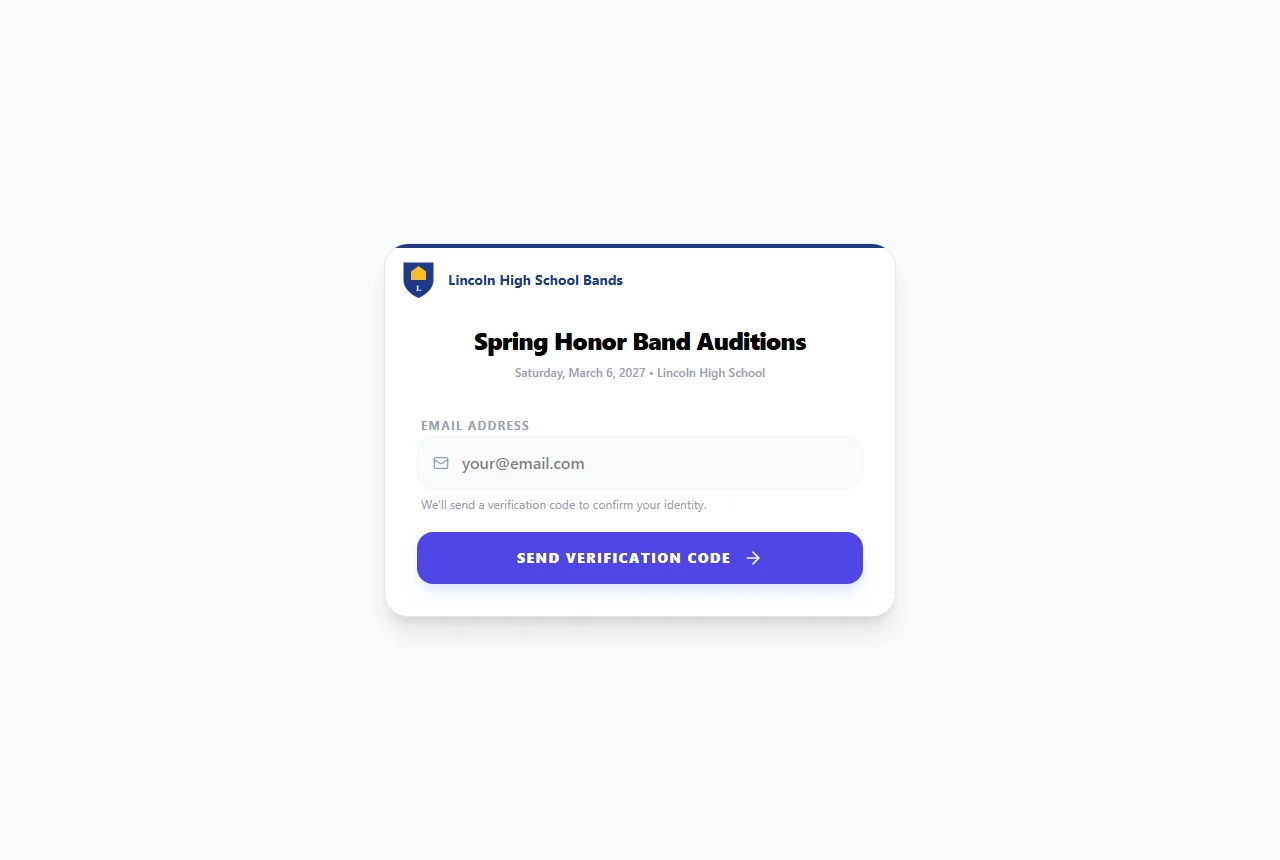
- Accent colour: pick a colour or type its code, such as #1E40AF. It's shown as a band across the top of your pages. If it's too light to read as text, your name is shown in a darker colour instead.
- Logo: a PNG, JPEG, WebP or GIF image up to 512 KB. A wide logo on a clear or white background works best.
The Preview shows how it will look. Click Save branding.
2Choose where it appears
Branding only appears where you tick it. Tick any of the following:
- Sign-up and other public pages: the sign-up page, payment and consent links, the door check-in link, and school directors' pages.
- Participants' dashboards: on each of your auditions on a participant's dashboard.
- Reports and exports: at the top of printed reports and PDF exports for one of your auditions. Reports covering all your auditions aren't branded.
Emails aren't branded.
3Organizations and divisions
For auditions in an organization's divisions, the organization's branding is used. The owner and admins set it under Organization > General Settings, including where it appears.
A division can use its own name, logo or colour, for example a choir department with its own logo. On the Divisions tab, click the palette button next to the division. Anything the division leaves empty uses the organization's. Where it appears always follows the organization.
An organizer's own branding in Settings applies only to their auditions outside a division. See Organizations & divisions.